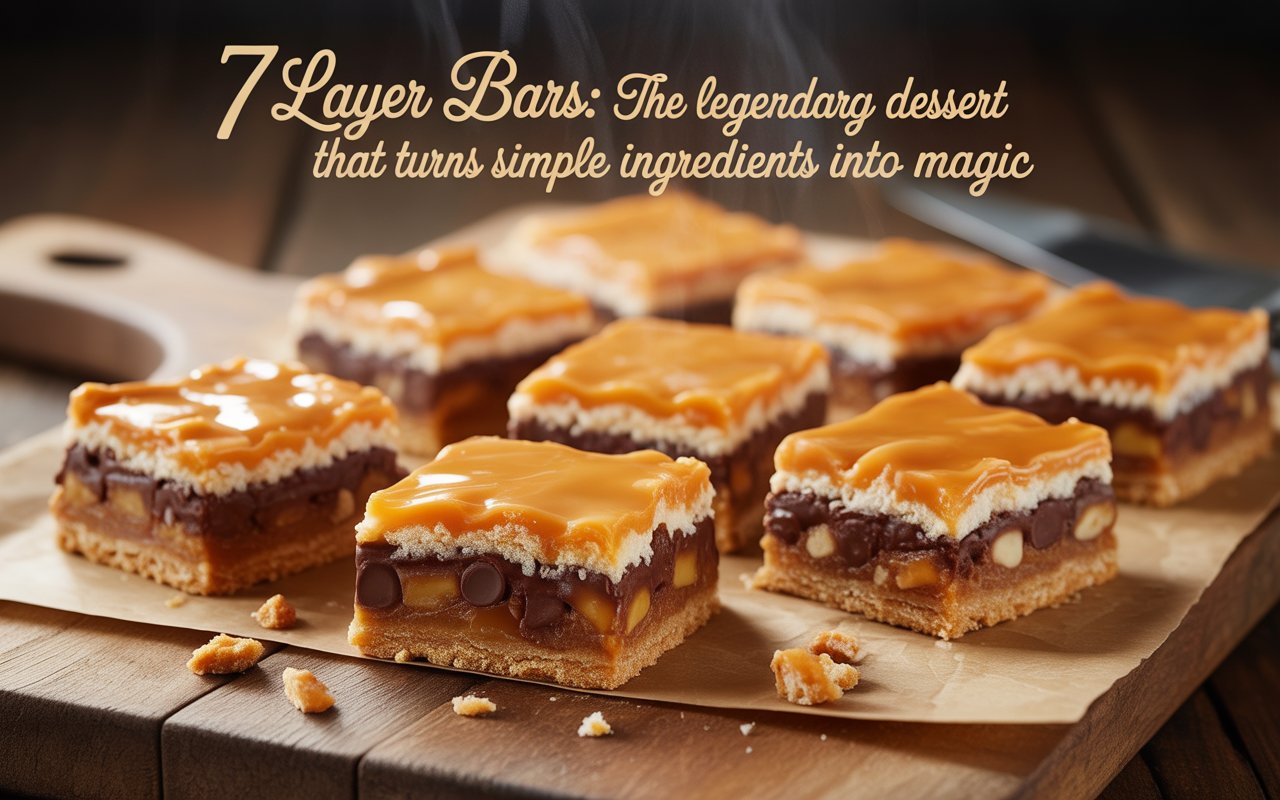
Have you ever met a dessert that feels like a party in every bite? One that looks humble but tastes like it took hours of effort? That’s exactly the charm of 7 layer bars. They’re rich but not fussy, nostalgic yet trendy, and ridiculously easy to make. If desserts were stories, these bars would be a short novel with a perfect ending—no loose threads, no drama, just pure satisfaction.
In this deep-dive guide, we’ll explore where these bars came from, why they work so well, how to master the technique, and all the creative ways you can make them your own. Whether you’re a first-time baker or someone who already knows the joy of scraping the last crumb from a pan, you’re about to fall in love all over again.
What Exactly Are 7 Layer Bars?
At their core, 7 layer bars are a baked dessert made by stacking simple ingredients into clear layers, then letting heat and time transform them into a chewy, gooey masterpiece. No mixers, no fancy tools — just a pan, a spoon, and a little patience.
The “seven” usually includes:
A crumb base
Melted butter
Chocolate bits
Butterscotch or caramel pieces
Nuts
Coconut flakes
Sweetened condensed milk
It’s the dessert version of building a great sandwich. Each layer matters, and together they create something much bigger than the ingredients alone.
A Short History Wrapped in Foil
This dessert didn’t rise from a fancy bakery or a celebrity chef’s kitchen. It was born in Great desserts are more than sugar and butter. They’re about contrast.
These bars shine because they balance:
Crunch and chew
Sweet and slightly salty
Soft centers and crisp edges
Each bite surprises your mouth just enough to keep you reaching for another piece.
Think of it like a choir. One voice alone sounds fine. But when many voices blend, the sound becomes powerful. That’s what happens when these layers bake together. No single part shouts. They all harmonize.
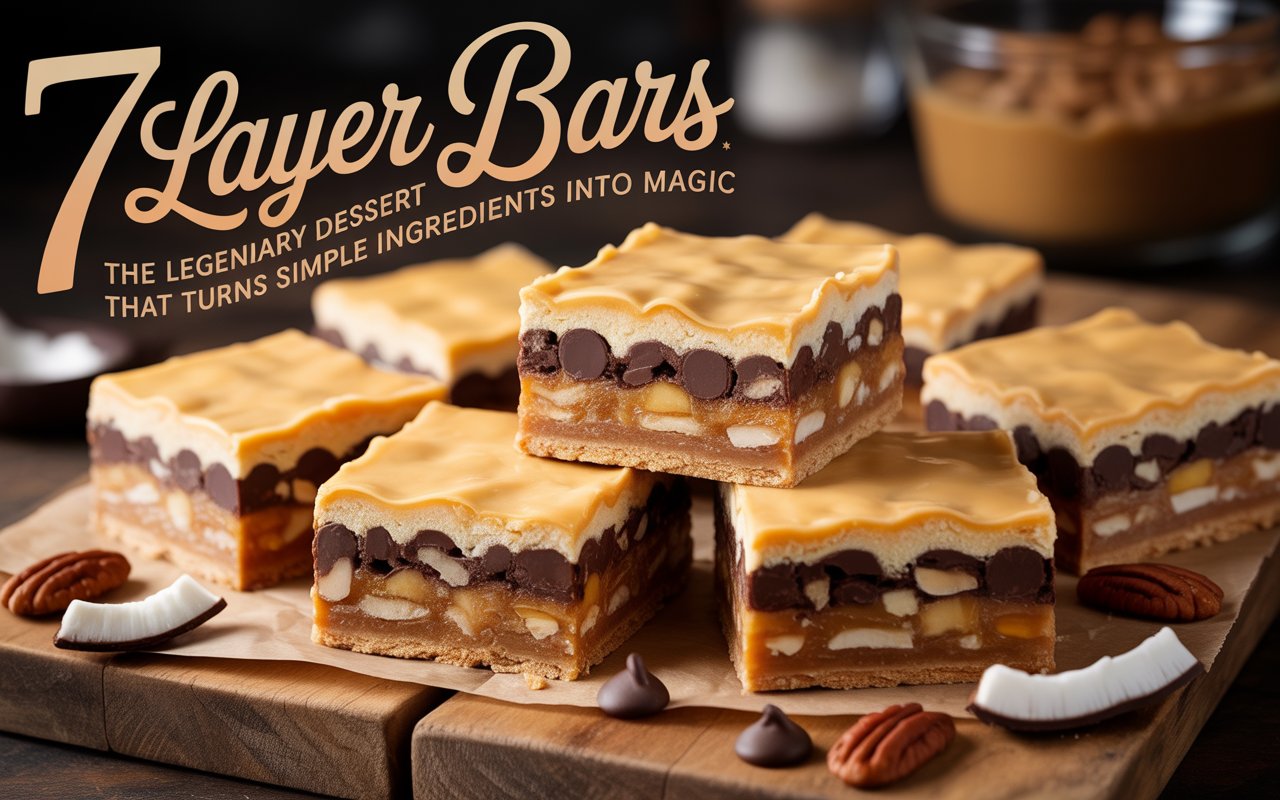
The Anatomy of Each Layer
7 layer bars
To really understand the beauty of this dessert, let’s break it down—layer by layer.
The Base: The Crunchy Foundation
Usually made from crushed biscuits or crackers mixed with butter. This forms the stage where the entire dessert performs.
The Glue: Melted Butter
This holds the base together and adds richness. Without it, everything would crumble.
The Sweet Team: Chocolate and Butterscotch
These melt into little pools of joy. Some like more chocolate, others prefer caramel flavors. Either way, these layers carry the dessert’s personality.
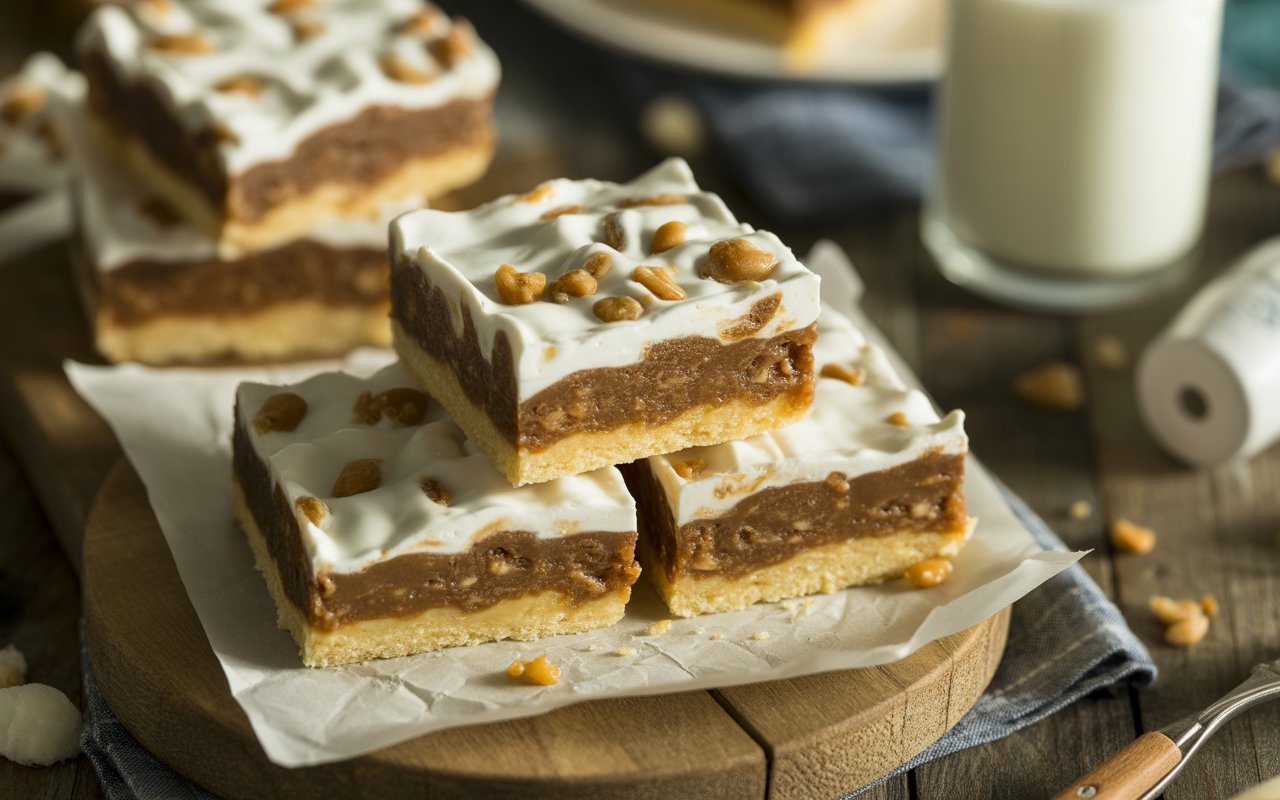
The Texture Makers: Coconut and Nuts
They bring chewiness and crunch. Toasted bits rise to the top, adding a beautiful golden finish.
The Magic Maker: Condensed Milk
This thick, sweet liquid seeps through every layer as it bakes, binding everything together. It’s the secret sauce that turns separate ingredients into one unforgettable bite.
The Foolproof Baking Method
No complicated steps here. This is as beginner-friendly as baking gets.
You:
Press the crumb mixture into a tray.
Sprinkle the toppings evenly.
Drizzle the milk over the surface.
Bake until golden and bubbling.
That’s it.
If baking were driving, this would be an automatic car. You’re steering—but the dessert does most of the work.
Creative Twists You’ll Want to Try
Once you’ve mastered the classic version, the fun begins.This dessert invites creativity, letting you shape it with flavors you love.
Flavor Swaps
White chocolate instead of regular
Peanut butter chips for a nutty kick
Dried fruit for a chewier bite
Seasonal Versions
Spiced layers for winter
Citrus zest for summer
Pumpkin-styled variations for autumn
Texture Experiments
Add crushed cereal
Sprinkle flaky salt
Use different nut blends
The possibilities feel endless, like choosing toppings at an ice cream counter.
Serving Ideas That Impress
7 layer bars
Cutting them into squares is just the beginning.
Try:
Serving warm with frozen dessert on top
Drizzling melted chocolate before plating
Cutting bite-sized cubes for party trays
Wrapping pieces in parchment for gifts
From casual snack to party showstopper, these bars adapt to any event.
Common Mistakes (and Easy Fixes)
Even easy recipes can go off track. Here’s how to stay on the sweet side of success.
Too Dry?
Add a little more condensed milk next time.
Too Sticky?
Let them cool completely before slicing.
Burnt Top?
Cover loosely with foil halfway through baking.
Crumbly Base?
Press it down firmly and don’t skimp on butter.
Making Them Lighter Without Losing Flavor
Love the taste but want a gentler version? You can still enjoy them with a few simple changes.
Ingredient Adjustments
Use smaller portions
Choose dark chocolate
Reduce added sugar layers
Increase nut content for richness without sweetness
It’s not about turning dessert into diet food. It’s about balance.
Why They’re Perfect for Beginners
7 layer bars
If baking feels intimidating, start here.
No mixing bowls filled with air bubbles.
No stiff peaks.
No delicate timing.
Just layer, bake, and wait.
This dessert trains you to understand how ingredients behave under heat—how solid becomes soft, and how separate parts melt together into something new.
It’s a confidence booster you can eat.
The Emotional Side of Baking
Food isn’t just fuel. It’s memory.
Many people associate these bars with:
Family gatherings
School fundraisers
Weekend treats
Friendly potlucks
Baking them isn’t just about dessert. It’s about recreating moments. Each tray tells a small story you get to share with others.
Like a photo album you can taste.
Storing, Freezing, and Sharing
Storage
Keep in an airtight container to maintain texture.
Freezing
Yes, these freeze well! Slice them before freezing so you can enjoy one at a time.
Transporting
Stack with parchment between layers and use a firm container to prevent smushing.
A Dessert That Grows With You
What starts as a simple treat often becomes a personal tradition. Over time, you’ll adjust ingredients. Maybe add something special. Maybe remove something you don’t love.
And one day, someone will ask for the recipe—and you’ll smile, because your version exists only in your kitchen.
That’s when you realize: this dessert isn’t just a snack anymore. It’s yours.
Conclusion: Sweet Simplicity, Layered with Love
7 layer bars aren’t just easy—they’re comforting, creative, and endlessly customizable. They prove that you don’t need expensive tools or rare ingredients to make something unforgettable. All you need is a pan, a few pantry items, and a love for sharing good food.
So next time you want to bake something that feels special without stress, you know exactly what to make.
FAQs
1. Can I make this dessert without using nuts?
Yes! Simply remove them or replace with something crunchy like cereal or seeds.
2. How long should I let them cool before cutting?
At least one hour, but longer is better to get clean slices.
3. Can I refrigerate the bars after baking?
Absolutely. Chilling helps them firm up and makes slicing easier.
4. Are these safe to bake in advance for events?
Yes. Making them a day ahead actually improves flavor and texture.
5. What pan size works best for even baking?
A medium rectangular tray ensures proper thickness and even heat distribution.